

I’m getting started with eBPF programming with Aya. The idea behind this series of articles is to learn about a new type of eBPF program and experiment with it using the Rust Aya framework.
Today, we’re going to dive into XDP: eBPF programs capable of filtering or redirecting network packets faster than lightspeed.
You’ll see that this can be very useful for building an effective firewall that can counter denial-of-service attacks, but also for load balancing millions of network packets.
What is XDP?#
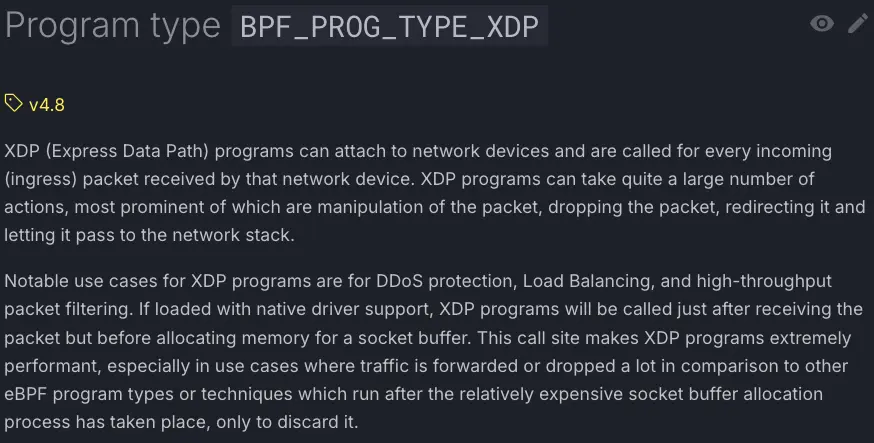
As you might guess, XDP is a type of network-oriented eBPF program. XDP stands for eXpress Data Path.
To fully understand the meaning of this acronym, you need to know how a network packet travels from the network card to an application such as a web server. Traditionally, it follows this path in Linux:
XDP operates directly at the driver level, allowing it to respond more quickly than an application firewall. This speed is particularly crucial against distributed denial-of-service (DDoS) attacks.
To be precise, XDP can work in three different places depending on the network card support:
- At the network card firmware level (offloaded mode), but only a few network card models support this
- At the network driver level (native mode), which is the most common case for standard servers
- At the kernel network stack level (generic mode), allowing testing on any computer (such as your laptop)
Please refer to this page for more details.
However, since XDP operates at a very low network layer, the output data retrieved is raw and untransformed by the Linux network layer, which makes it more difficult to manage for certain tasks (such as monitoring TCP connections and retransmissions).
For more information, please refer to the official documentation:
We will now discuss the context in which this technology was created.
Origin story#
The Ancestors of XDP#
We didn’t wait for XDP to filter or redirect packets in the Linux kernel.
The first firewall was implemented in Linux 1.1 in 1994. It was called ipfw and was configured using the ipfwadm command line. It was inspired by the firewall created for FreeBSD.
It was replaced by ipchains in Linux 2.2 in 1999, which was more comprehensive and better suited to the kernel’s new network layer.
Netfilter: the immortal#
For version 2.4 (2001) of the Linux kernel, a brand new firewall was created: Netfilter and its command line iptables, which every Linux network engineer is still very familiar with today.
Netfilter processes network packets at various points in the Linux network stack, well after the driver.
Since that version, Netfilter has evolved to handle new features such as IPv6 and cgroups.
Despite its qualities, Linux has never had good reputation for network hardware. For example, most professional switches and routers run on other operating systems. Could XDP reverse this trend?
XDP: the successor?#
In 2014, eBPF was released. But it was two years later, with version 4.8 of the Linux kernel, that XDP finally became usable. It was developed jointly by Brenden Blanco (PLUMgrid Inc) and Tom Herbert (Facebook).
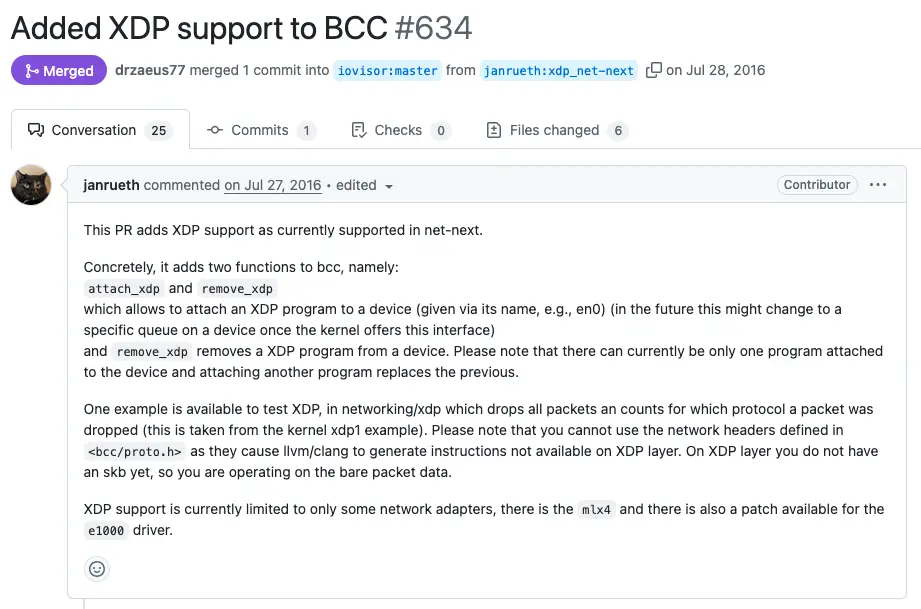
Unlike other types of eBPF programs, XDP cannot be used with eBPF alone. A hook is placed at the network driver level, allowing the eBPF program to be started. This meant that XDP-compatible drivers had to be developed for it to work. The frameworks at the time also had to be able to handle this new type of program. So, as early as July 2016, even before the official release of the XDP-compatible Linux kernel, it was possible to create XDP programs with BCC:
Since then, XDP has continued to evolve, notably:
- In 2018, the appearance of the
AF_XDP(Address Family Express Data Path) socket, which allows XDP to be used from user space without going through the network stack. - In 2022, the management of large packets (such as Jumbo packets, GRO, or BIG TCP) with XDP Fragment.
Today, XDP is considered stable and usable in production.
iptables with XDP would be a colossal task. The bpfilter project aims to translate iptables rules into eBPF programs and does not only use XDP.Finally, here is a brief timeline of the history of XDP:

Now that XDP is considered stable, a natural question arises: which projects use it?
Which projects use XDP?#
To challenge the common misconception that “eBPF is only used by three big companies”, I did a little research on tools that actually use XDP and that you may be using without even knowing it…
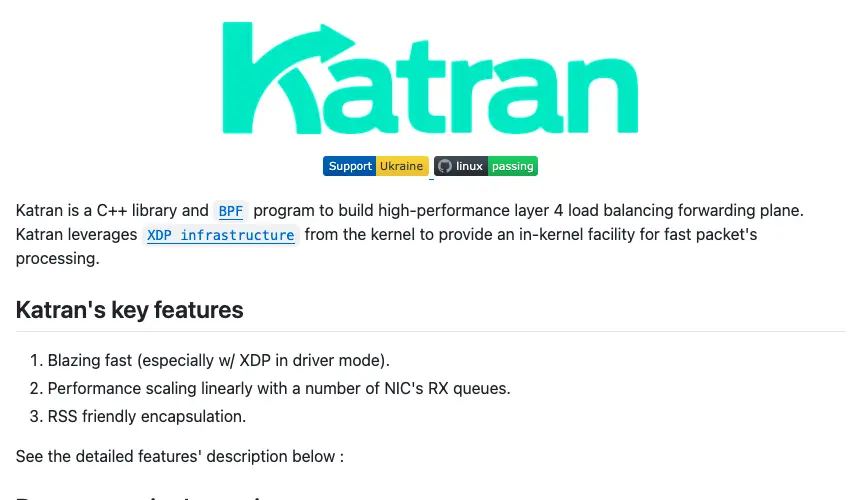
Katran: Facebook’s load balancer#
The Katran project is developing a layer 4 XDP load balancer. It is used by Facebook and also by Netflix. In addition, Facebook has created an XDP-based firewall to prevent DDoS attacks.
Cilium: Kubernetes external services#
The Cilium project provides a CNI plugin for Kubernetes and can also replace kube-proxy. Under some requirements, Cilium can enable XDP for NodePort, LoadBalancer, and externalIPs services, thereby improving performance.

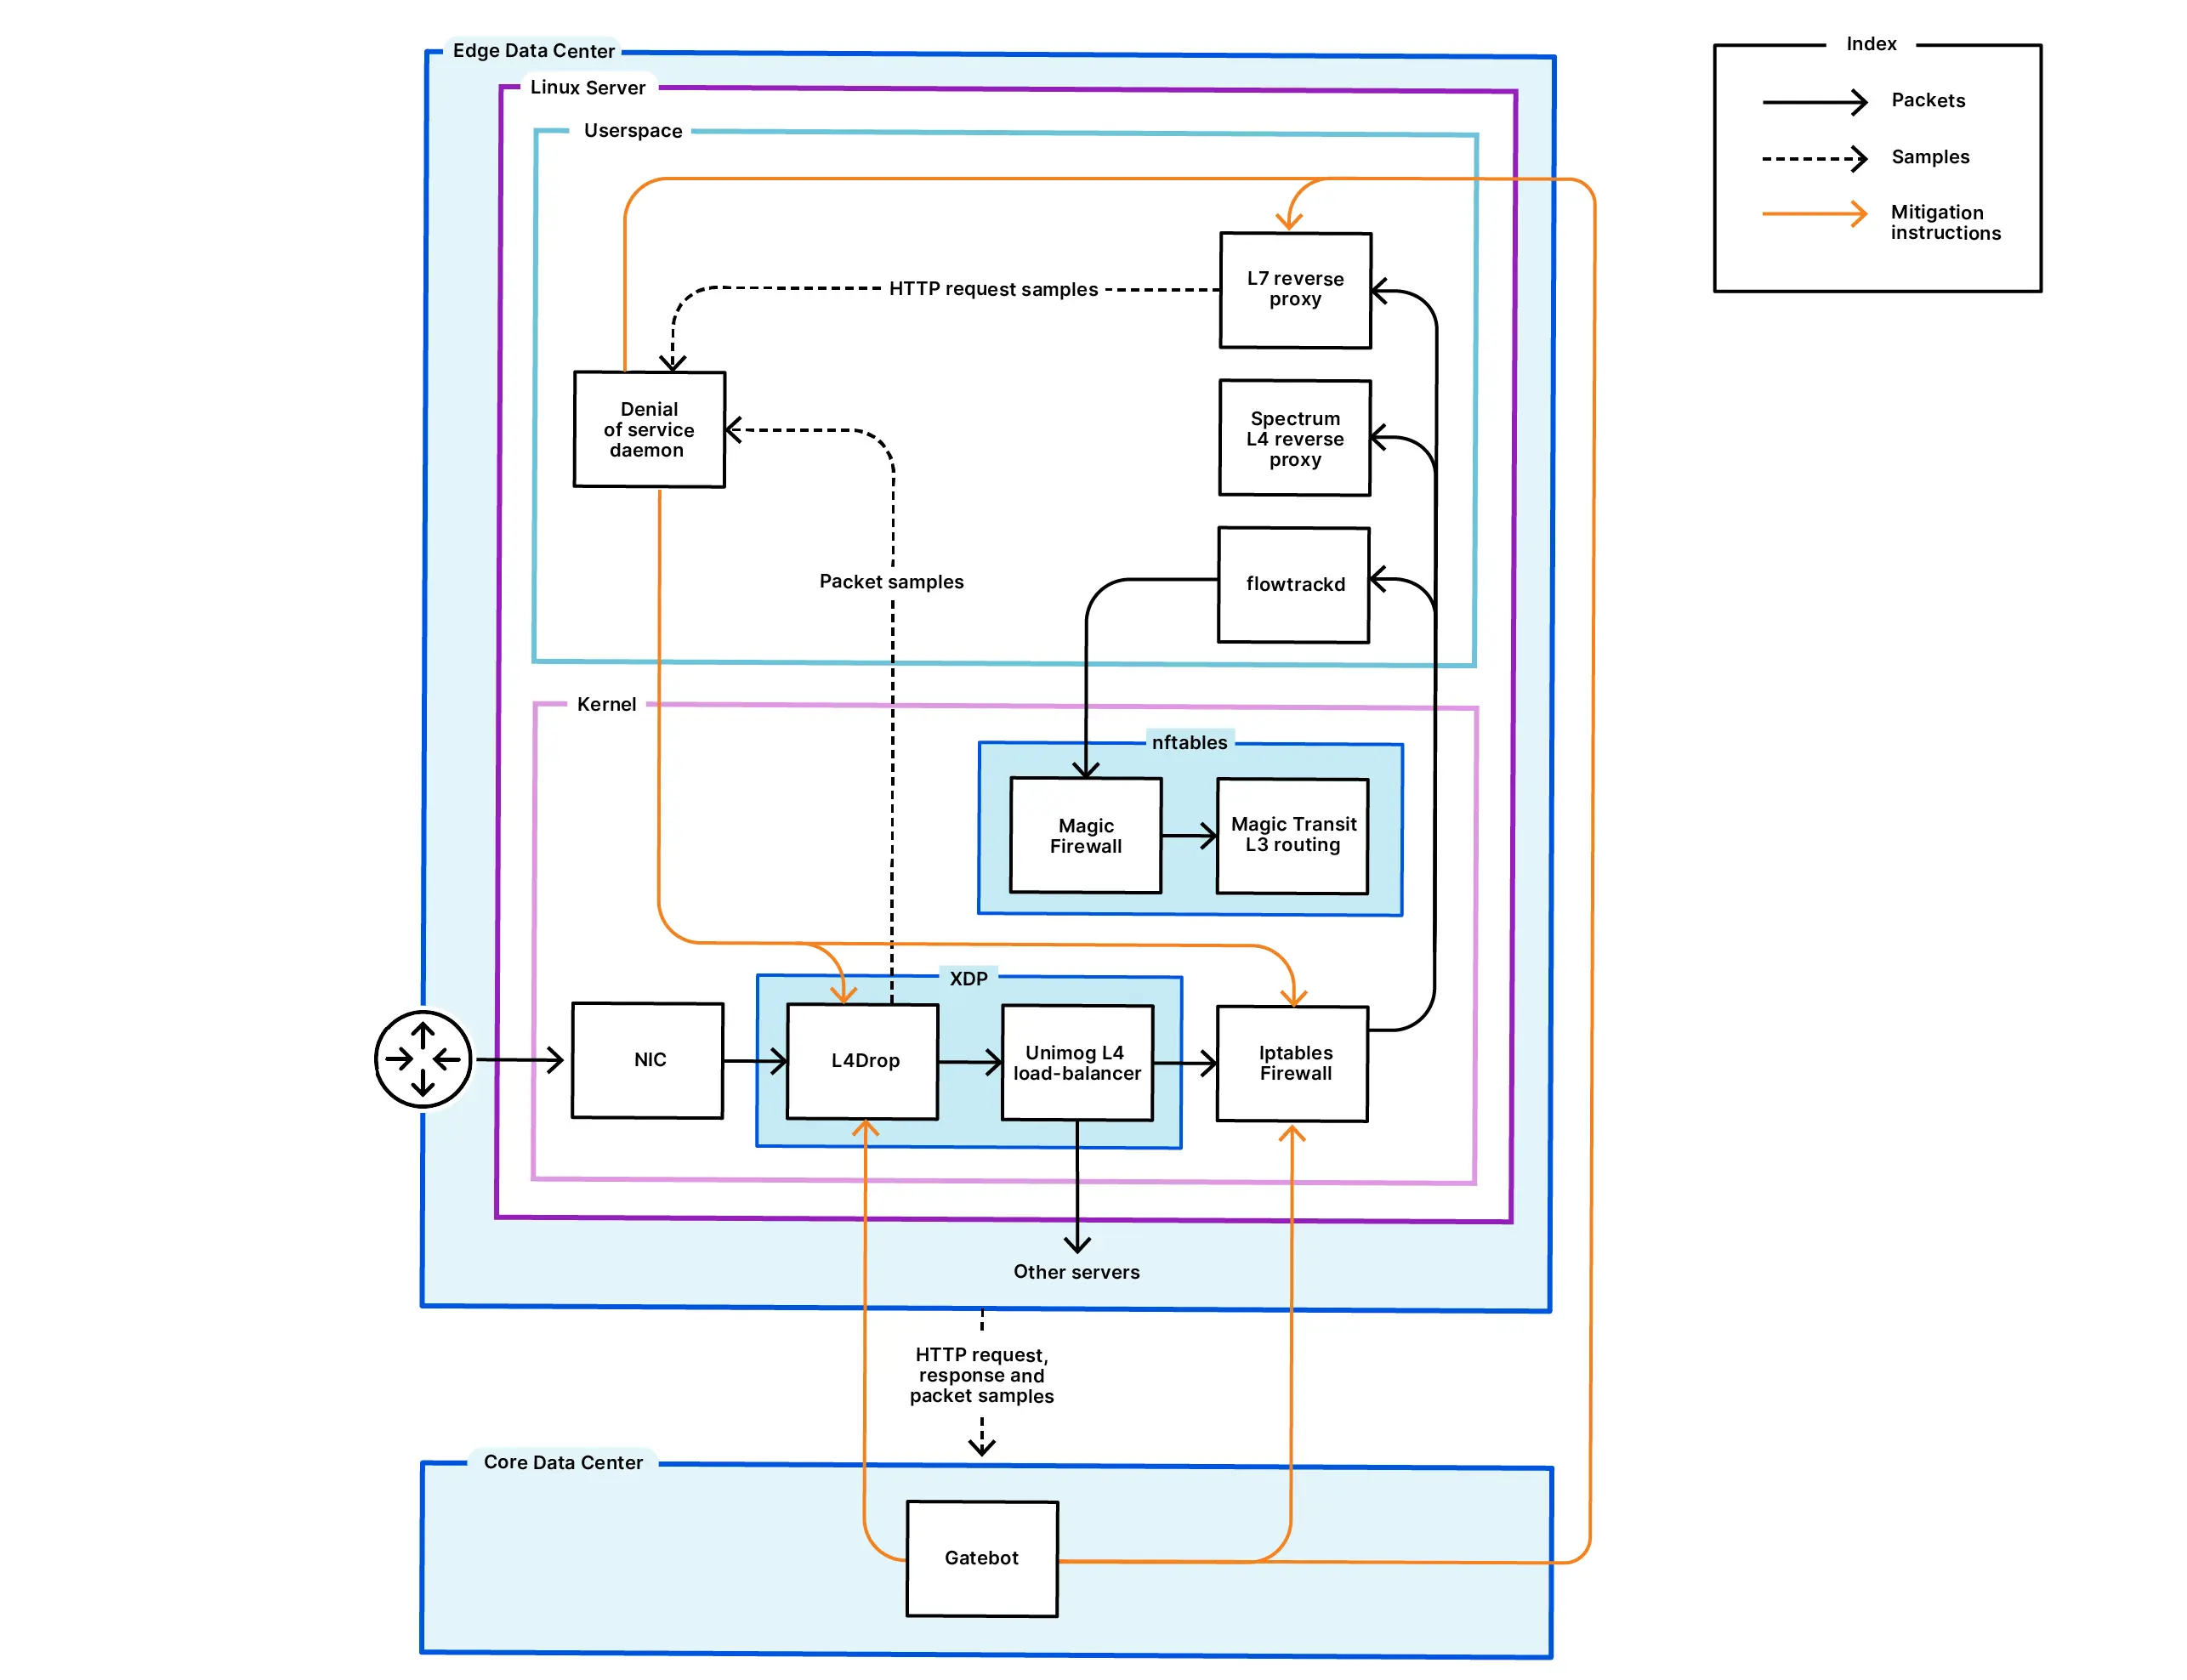
Cloudflare: preventing DDoS#
In 2018, Cloudflare published an article explaining how it reduced DDoS with XDP. Recently, Cloudflare announced that it had mitigated an 22.2 Tbit/s DDoS attack
And many others#
There are certainly other lesser-known projects that use XDP, such as Surricata.
We will now look at the main difficulties we will encounter when we start creating an XDP program.
How to start your XDP program?#
For many eBPF programs, the first challenge is finding the hook point. For XDP, it’s relatively simple: you just need to know the name of the network interface where you want to hook the XDP program.
The real challenge lies in creating a network environment. The traditional solution is to create VMs (with Vagrant, for example) and have them communicate with each other. This solution is entirely possible for XDP, but it seems a bit cumbersome to set up (for labs, for example).
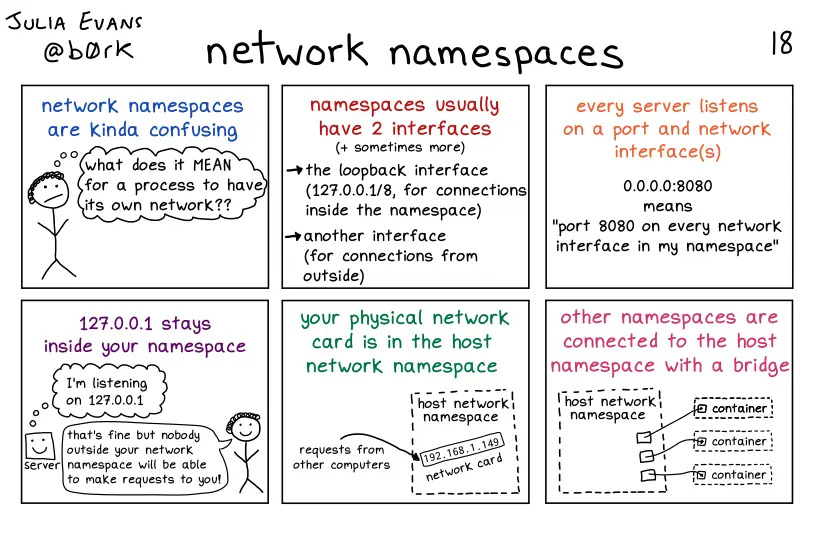
For the rest of this guide, I suggest a much lighter solution: using Linux network namespaces. The same mechanism that is used for Docker.
Creating an environment for XDP#
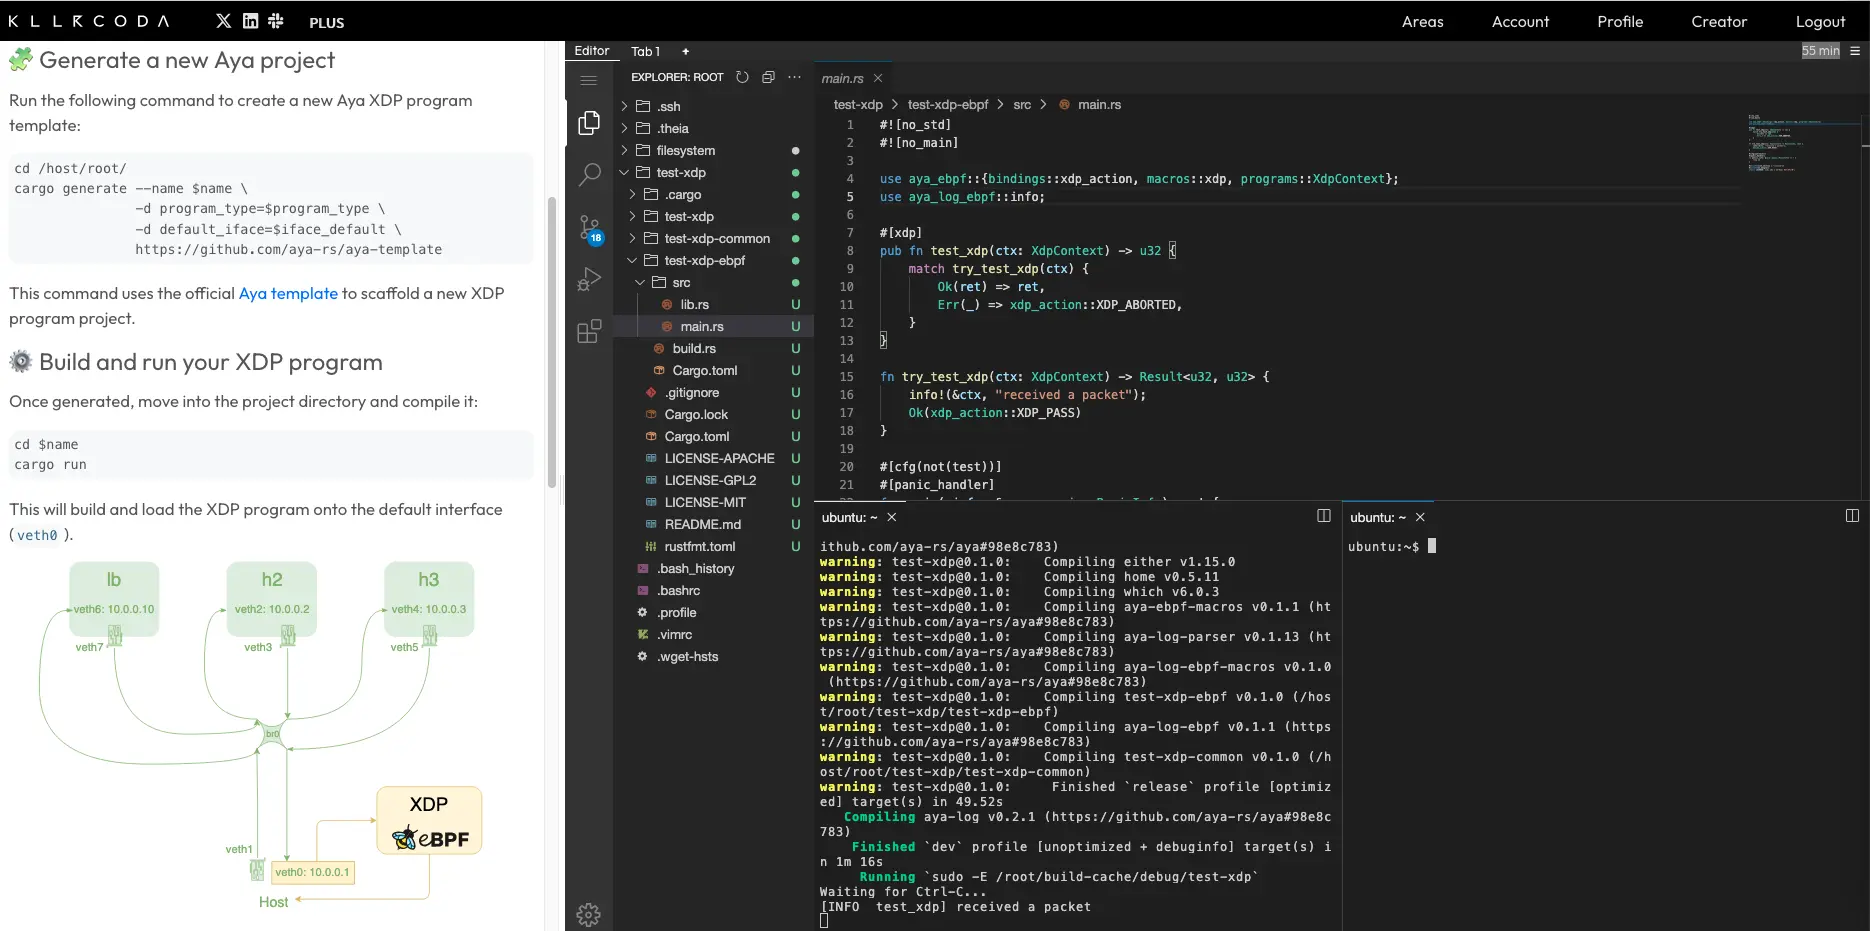
I’m assuming you’re using Linux for the demonstration. If not, you can use the Killercoda lab:
Environment creation script#
We could create a tutorial for creating network namespaces, but since this is not the main topic and there are already scripts that can be easily found online, I suggest the following script:
git clone https://github.com/littlejo/eunomia.dev
cd eunomia.dev/docs/tutorials/42-xdp-loadbalancer/
To create the network namespaces:
./setup.sh
net-tools package on Debian to access the arp command, which is used in the script to perform functionality checks.This script will create three namespaces that can communicate with each other (lb, h2, and h3) via a bridge (br0):
ip netns list
lb (id: 23)
h3 (id: 18)
h2 (id: 15)
To see the IPs of a namespace, you can type:
ip netns exec lb ip -brief -family inet addr
lo               UNKNOWN        127.0.0.1/8
veth6@if98       UP             10.0.0.10/24
These namespaces can be represented as follows:
Verifying proper functioning#
Although the script already performs the necessary checks, we will still do a few ourselves to show the testing possibilities available.
We can ping the IP address of a namespace from the host:
ping -c 3 10.0.0.10
The ping is successful:
PING 10.0.0.10 (10.0.0.10) 56(84) bytes of data.
64 bytes from 10.0.0.10: icmp_seq=1 ttl=64 time=0.060 ms
64 bytes from 10.0.0.10: icmp_seq=2 ttl=64 time=0.124 ms
64 bytes from 10.0.0.10: icmp_seq=3 ttl=64 time=0.122 ms

--- 10.0.0.10 ping statistics ---
3 packets transmitted, 3 received, 0% packet loss, time 2053ms
rtt min/avg/max/mdev = 0.060/0.102/0.124/0.029 ms

To test the connection to a web server in a namespace, I can do it this way in the h2 namespace:
ip netns exec h2 python3 -m http.server 8080
If I want to test that I can connect to the web server from lb, I type on another terminal:
ip netns exec lb curl http://10.0.0.2:8080

lb namespace and redirect it to the h2 and h3 namespaces.This provides us a complete test environment for the rest of the series.
Cleaning up#
To remove the namespaces and network interfaces, you can restart the machine or just type:
./teardown.sh
My first XDP program#
Now let’s create a small XDP program in the environment we just created.
xdp-tools is a suite of tools for creating and debugging XDP programs.
To install it on Debian 13, I installed the package:
apt install xdp-tools
littlejo/xdp-tools). Everything is here.We will use xdp-filter, which lets us to create xdp programs that filter packets.
We will install an xdp program on the veth0 interface:
xdp-filter load veth0
The load option lets you to load the XDP program in the Linux kernel.
unload option: xdp-filter unload veth0.The following diagram shows what we have done:

From another terminal, you can verify that the ping is working:
ip netns exec lb ping -c 3 10.0.0.1

You can also see it:
xdp-filter status
You can see that xdp has successfully passed 3 packets:
CURRENT XDP-FILTER STATUS:

Aggregate per-action statistics:
  XDP_ABORTED                                   0 pkts           0 KiB
  XDP_DROP                                      0 pkts           0 KiB
  XDP_PASS                                      3 pkts           0 KiB

Loaded on interfaces:
                                           Enabled features
xdpfilt_alw_all
  veth0 (native mode)                      tcp,udp,ipv6,ipv4,ethernet,allow

Filtered ports:
                                           Mode             Hit counter

Filtered IP addresses:
                                           Mode             Hit counter

Filtered MAC addresses:
                                           Mode             Hit counter
To filter the lb IP:
xdp-filter ip -m src 10.0.0.10

-r option: xdp-filter ip -m src -r 10.10.0.10With this example, it is important to understand that XDP programs only operate on the arrival of the interface (ingress). Thus, the source IP is 10.0.0.10 and the destination IP is always 10.0.0.1.
If we wanted to prevent lb from pinging by creating an XDP program on the twin interface veth1, we would have had to run the following command:
xdp-filter ip -m dst 10.0.0.10

This is because the source IP is now the IP of the veth0 interface and the destination IP is the IP where the echo reply is sent, i.e. 10.0.0.10.
Check that the ping no longer works:
ip netns exec lb ping -c 3 10.0.0.1
But you can still ping from another namespace:
ip netns exec h2 ping -c 3 10.0.0.1
We can see this with xdp-filter status:
CURRENT XDP-FILTER STATUS:

Aggregate per-action statistics:
  XDP_ABORTED                                   0 pkts           0 KiB
  XDP_DROP                                      5 pkts           0 KiB
  XDP_PASS                                     16 pkts           1 KiB

Loaded on interfaces:
                                           Enabled features
xdpfilt_alw_all
  veth0 (native mode)                      tcp,udp,ipv6,ipv4,ethernet,allow

Filtered ports:
                                           Mode             Hit counter

Filtered IP addresses:
                                           Mode             Hit counter
  10.0.0.10                                src              5

Filtered MAC addresses:
                                           Mode             Hit counter
xdp-filter command with Aya.Anatomy of a network packet#
Now that we have successfully created XDP programs with xdp-filter, another difficulty that will quickly arise when we try to actually develop an XDP program is network knowledge.
As I wrote at the beginning of the article, with XDP we retrieve raw data from the packet, so we need to be able to analyze it by understanding how a network packet is structured.

A network packet has two parts:
- The messenger (headers): IP addresses, MAC addresses, the protocol, the port used, etc. This is the part that interests network engineers.
- The message content (payload): the part that matters users.
How are these headers structured? By the different layers of the TCP/IP model. Does that ring a bell? I had (almost) forgotten everything about it myself.
TCP/IP model#
The TCP/IP model has four layers:
- Network access: Wired (Ethernet) or wireless (Wi-Fi)
- Internet: IPv4, IPv6, ICMP, etc.
- Transport: TCP and UDP
- Application: HTTP, SSH, DNS, etc.

XDP kicks in as soon as layer 1 is received. The packet encapsulates the different layers. The packet will therefore be structured as follows:
- The network access header (we will only see the Ethernet header: ethernet header (ethhdr)), which will indicate whether we are using IPv4 or IPv6
- The Internet header (e.g., Internet Protocol Header (iphdr)) indicates whether the protocol is UDP, TCP, or ICMP.
- The transport header (e.g., Transmission Control Protocol Header (tcphdr)) indicates which port is being used, for example.
- The application header is much less standard, so we won’t go into that here.
Here are the different headers for a DNS request, for example:

So, to create an XDP program, you need to go through the different headers in the packet and retrieve a specific element from the header.
The UDP header is composed of the following elements:

- Source port: the port from which the packet is sent (a variable port defined by the application)
- Destination port: the port to which the packet should be sent (for example, port 53 for DNS)
- Length: total length of the UDP segment (header + payload)
- Checksum: verification of the packet’s integrity.
Once we have retrieved the target element, we can decide, for example, whether to block access to the packet.
In this episode, we looked at the basics of XDP: what it is used for, its history, who uses it, and the prerequisites for starting an XDP program.
Does all this seem abstract to you? We will now move on to the practical side in the next episode: we will create a small XDP firewall with Aya!